This quilt is finally done. It started with an inspiration quilt from AmandaJean @ Crazy Mom Quilts I contacted her when I originally posted this in April and she noted that she had not yet finished her original quilt. My version was a bit oversized, but worked out quite well.
This quilt is for my nephew Phillip. I have designed 3 different quilts for this boy but none of them really resonated. He likes paisleys and he's a mechanic. So, here you have my solution.
I failed to point out in the previous post, that his Evil Twin, Keeley, designed the Gear Paisleys.
While he has no interest in dragonflies, this is MY thing. What's not to love about the gear-mouth, goggle-eyed, key body dragonfly? (And how cool is that houndstooth print as a binding?)
Here's my pride and joy. A 5" x 2" close up. Not perfect, but joyously detailed.
Looking forward to delivering this later this week!
Monday, December 21, 2015
Sunday, December 20, 2015
Quilted Steampunk Dragonflies
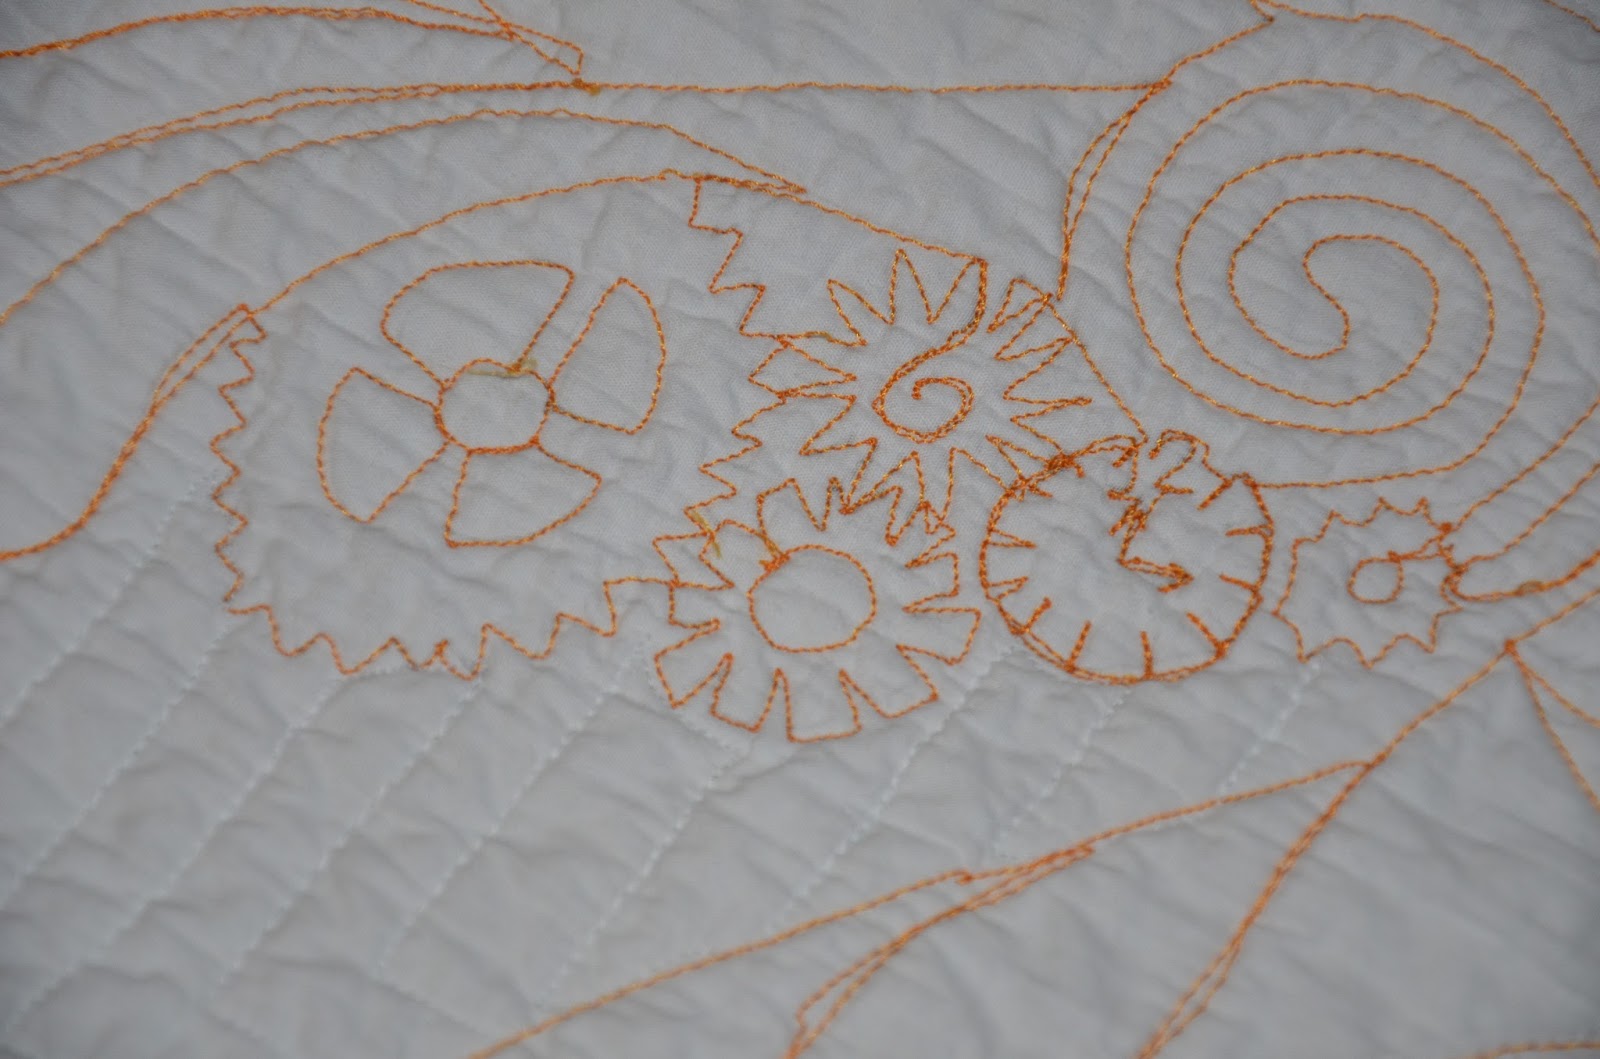
The Giant Steampunk dragonflies are now officially quilted in orange thread. Some parts came out far better than I expected and even the parts I like the least are still pretty darn cool.
I have 2 more of the gear-paisleys to go, and a spark plug paisley for the center. Then I'll be back to figuring out fill that shows off this without overwhelming it. Probably some "straight" line quilting in white. Still not sure about the fill for the left side of each gear paisley. My original plan was stippling. Decisions, decisions.
Saturday, December 19, 2015
Finished Pickle Dish
I took a series of beautiful outdoor shots of this finished quilt....and somehow got the photo settings all messed up. So here's an indoor shot which is the best I can do given the weather.
Because I made it asymmetrical, I have a hard time deciding which way I would consider "up". Guess that will be up to the recipient to decide. (But I like this direction.)
After all the griping I've done over the years about feathers, I found them to be a pretty fast fill and a nice contrast to the geometric motif. I even got to the point that I could draw out the spine and fake the rest.
I have washed this quilt twice. First time on warm/cold and 2 color catchers. A second time after the binding was on on hot/cold. More color catchers that came out even darker. One of these reds (the center in this "eye") really faded a lot. This is the second quilt this year made from "stash" fabric in which the color fading was horribly disappointing. Yet another reason to stick with batiks.
Next up, the last of the "Nephew" quilts. Steam-pumk elements are penciled in on the white sections. Using the walking foot for the octagons, then moving on to some fun FMQ.
After all the griping I've done over the years about feathers, I found them to be a pretty fast fill and a nice contrast to the geometric motif. I even got to the point that I could draw out the spine and fake the rest.
I have washed this quilt twice. First time on warm/cold and 2 color catchers. A second time after the binding was on on hot/cold. More color catchers that came out even darker. One of these reds (the center in this "eye") really faded a lot. This is the second quilt this year made from "stash" fabric in which the color fading was horribly disappointing. Yet another reason to stick with batiks.
Next up, the last of the "Nephew" quilts. Steam-pumk elements are penciled in on the white sections. Using the walking foot for the octagons, then moving on to some fun FMQ.
Sunday, December 6, 2015
Bookcase Quilt
My friend Robin was begging me to make her a bookcase quilt based upon the image she re-posted. Unfortunately, I can't find the original artist. Let me know if you know who made this so I can give proper credit.
As we've brainstormed, I suspect it will get more chotchkies than just books like this one from ShinyNewThing.
And I can't find the original reference for this quilt (help me find the maker!) I suspect this is what Robin's shelves really look like. I need a section or 2 of these magazines.
As we've brainstormed, I suspect it will get more chotchkies than just books like this one from ShinyNewThing.
And I can't find the original reference for this quilt (help me find the maker!) I suspect this is what Robin's shelves really look like. I need a section or 2 of these magazines.
This will be a slow process with me making some books as the fabric shows up.
Here's my master plan (such as it is). 6 shelves ranging from 8-14". Life sized books: 7-9" paperback, 10" hardback, 11" cookbooks. I'll use black for the background. Brown for the shelving. If you have any selvages I could use for the magazines please send them my way. Also, I need a good section on bird books. Let me know if you want to make this along with me and maybe we can arrange for some fabric swaps!
More Feathers
My FMQ Feathers are starting to get better.
I used to really hate feathers, but as I improve my technique, I'm learning that it is actually a pretty fast fill that gives some good motion to the final quilt.
I had some transparency sheets (from the era of teaching on overhead projectors). I placed one on the section I had to fill in then played with some placement using a dry erase marker.
I have some trouble with the direction change and it took a couple tries on the inner feathers.
I have this taped above the machine for reference.
I made a template from poster board to mark the spine. I just traced over the transparency with a ball-point pen which gave me a scoring mark on the cardboard to use as a cutting line.
The blue chalk pencil is working well on the red.
It is also helpful to have a reference line to remind me where the inner feathers divide for the upper and lower parts.
I am slowly figuring out that on the home machine, my secret is to keep the feathers relatively small. Otherwise I don't have the room on throat-plate to make a continuous looping motion. The bigger feathers tend to end up more square as I am trying to squeeze the end in or have to re-position my hands.
OK...back to the machine.
I used to really hate feathers, but as I improve my technique, I'm learning that it is actually a pretty fast fill that gives some good motion to the final quilt.
I had some transparency sheets (from the era of teaching on overhead projectors). I placed one on the section I had to fill in then played with some placement using a dry erase marker.
I have some trouble with the direction change and it took a couple tries on the inner feathers.
I have this taped above the machine for reference.
I made a template from poster board to mark the spine. I just traced over the transparency with a ball-point pen which gave me a scoring mark on the cardboard to use as a cutting line.
The blue chalk pencil is working well on the red.
It is also helpful to have a reference line to remind me where the inner feathers divide for the upper and lower parts.
I am slowly figuring out that on the home machine, my secret is to keep the feathers relatively small. Otherwise I don't have the room on throat-plate to make a continuous looping motion. The bigger feathers tend to end up more square as I am trying to squeeze the end in or have to re-position my hands.
OK...back to the machine.
Monday, November 30, 2015
Machine Quilting
Last day of the stay-cation. Decided that since there was nothing interesting on TV, it was time to slave away on some machine quilting.
Have been outlining the pickle dish piecing in black and adding some feathery things on the joining squares. Here's a look from the back. Clearly I cannot FMQ in a straight line. I thought I was all done until I flipped this over for the photo. Missed a section of "eyelashes". Dang.
While it is hard to see red on red, I am pretty proud of this feathery bit. They actually look pretty darn good, smooth, and the way feathers are supposed to look. (Weird. ) I finished off the centers with some pebbling so those joining bits wouldn't stick out and wear down sooner.
I was about to launch the next round of feathery fill, but decided that my wrists were feeling pretty sore and it might be better to pace this for another day.
My goal is to get this done in the next couple weeks. More updates on the horizon.
Have been outlining the pickle dish piecing in black and adding some feathery things on the joining squares. Here's a look from the back. Clearly I cannot FMQ in a straight line. I thought I was all done until I flipped this over for the photo. Missed a section of "eyelashes". Dang.
While it is hard to see red on red, I am pretty proud of this feathery bit. They actually look pretty darn good, smooth, and the way feathers are supposed to look. (Weird. ) I finished off the centers with some pebbling so those joining bits wouldn't stick out and wear down sooner.
I was about to launch the next round of feathery fill, but decided that my wrists were feeling pretty sore and it might be better to pace this for another day.
My goal is to get this done in the next couple weeks. More updates on the horizon.
Sunday, November 29, 2015
Go Fish
I am in my happy place. Applique. Batik. My favorite colors. Fun design.
Teal Cat is getting salmon instead of sardines.
For anyone who has not yet grasped the scale of this project, here's the real cat sitting on the project cat's head pattern.
Because of the scale and simple shapes, I'm doing a different technique from usual. I made a poster-board template of the fish shapes and marked the FRONT side of the fish in pencil. I cut an approximate 1/4" seam allowance. But now the pencil line is my fold line and my trimming didn't need to be exact.
I used 3 medium length pins to hold each body shape in place, then added applique pins just to the fish I'm sewing at the time.
This is saving a ton of time.
No basting!!!! The extra pins assure the piece doesn't shift while sewing.
I cranked out 50" worth of stitching in about 30 minutes.
Now back to the football game and more fish.
Subscribe to:
Posts (Atom)