I was attending a meeting recently, and during one mind-numbing discussion I was inspired to design a tote bag using 2 fat quarters and a jelly roll strip.
I have a set of shopping bags that I made a decade ago from some clearance denim fabric. I thought that batiks would be pretty and hold up well.
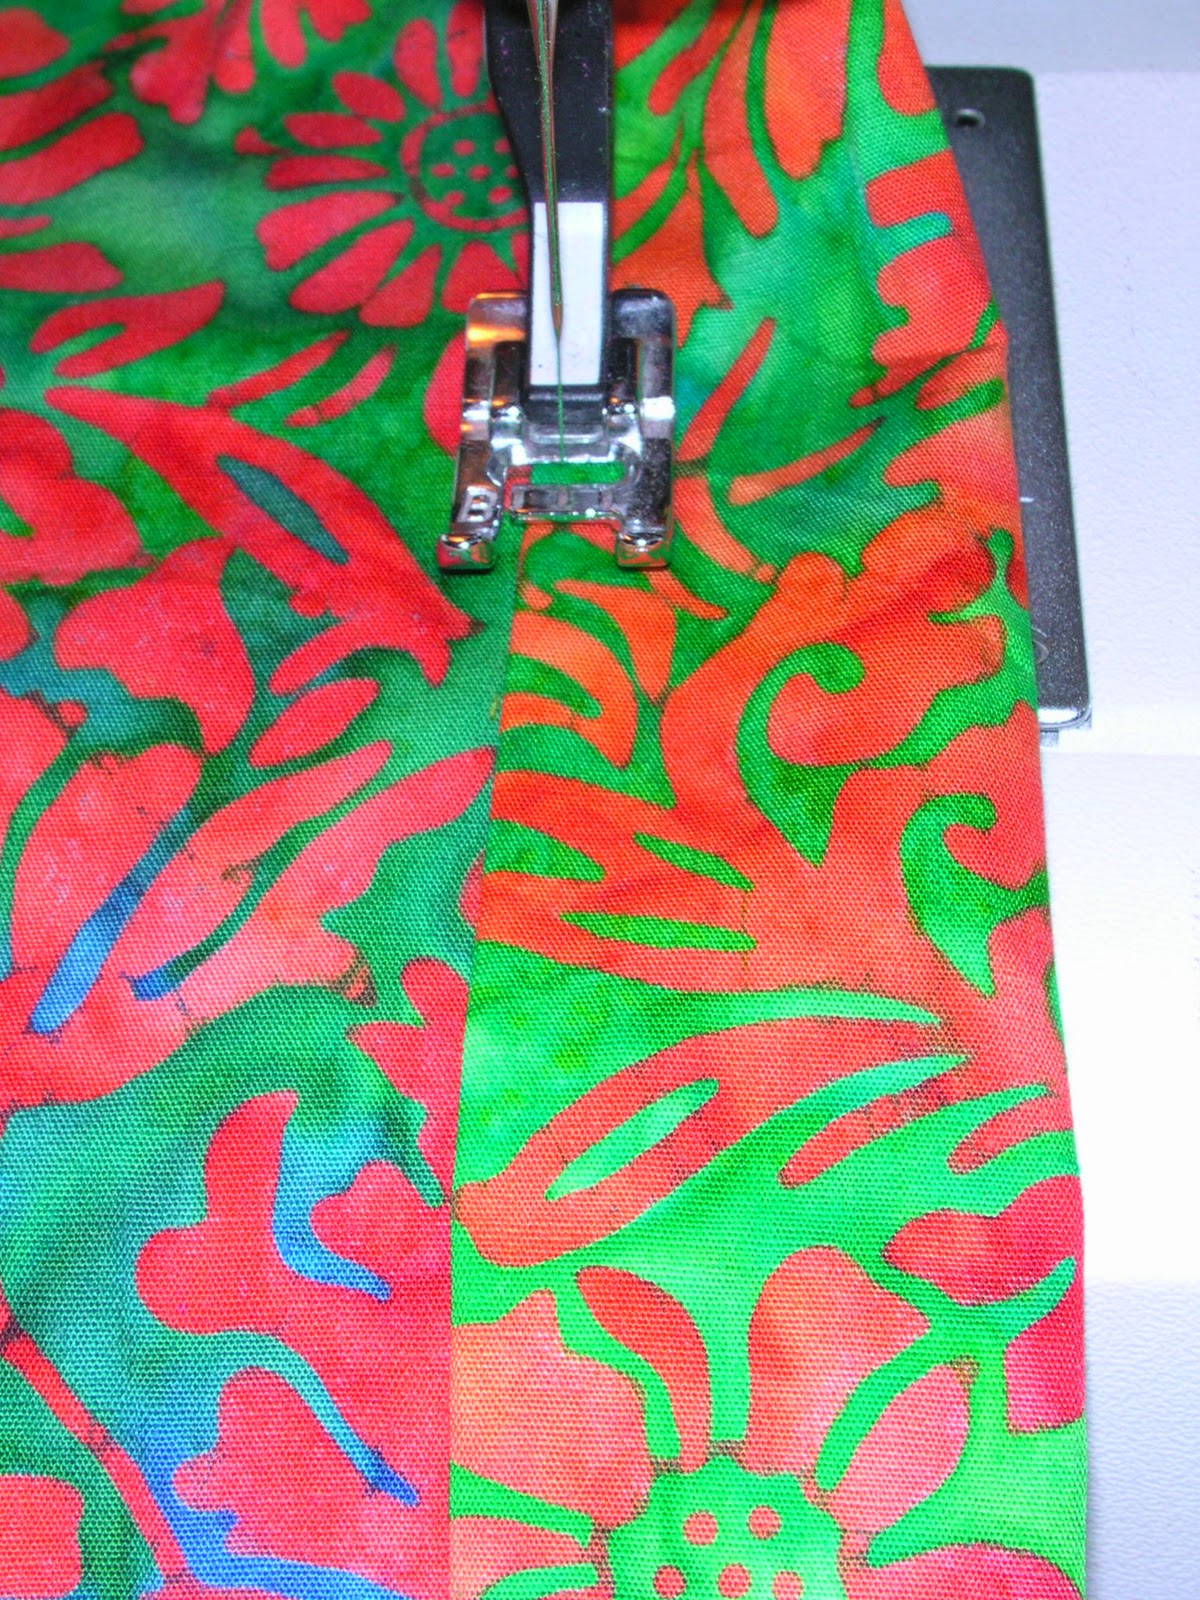
Sew the 18" side of the two fatquarters together. If your fabric still has selveges on it, leave those for the bag-opening side and sew the opposite sides together.
I used
French Seams, making 1/4" seam with the wrong sides together, and 1/2" for my final seam width. A serger would work fine for this step.
My pieces of fabric were not the exact same size. Once they were sewn together, I tidied up the edges making sure to use the sewn edge as my reference for making it nice and square.
Sew the side seams the same way.
Fold over about 1" from the opening of the bag. Stitch in place along selvage edge. (For fabric without a finished selvage, turn under 1/4" before stitching.
At this point it looks a lot like a pillow case. To make it a square bottomed bag....
Turn the bag inside-out. Create a triangle in which the bottom seam is centered.
Use the 45 degree angle mark on your ruler to check for placement. The bottom bag seam should be at 2.5", and the bottom of the triangle will measure 5". Mark this line, then sew across it.
I also stitched these triangles down to the bottom of the bag. It's easy to get strange puckers on this step, so take your time (or just skip it if it's too annoying).
To make the handles, fold a 2.5" strip of fabric (the width of a fabric) lengthwise and sew 1/4" seam. Cut the fabric in half for the 2 handles.
Next, I slid the seam around so it fell in the middle of the tube. Finger-press the seam open, then sew across all 4 ends.
Take out your handy seam ripper, and make a 1" turning hole about 1" from one end of each handle. (If you are more organized than I am, you could remember to leave the hole while your are sewing)
Turn it right side out, making sure to square up those corners in the process.
Press the handles with the seams running down the center. Don't worry about the openings, they'll be hidden when you sew the handles on.
Somehow, my photo of positioning the handles is missing. I marked the center of each bag panel, then aligned the inside edge of the handle 2" from the center (4" apart) and about 2" from the bag opening edge.
Stitch the handles down securely. I suggest at least a rectangle from the top of the bag to the bottom of the handle. You could use decorative stitches, cross - hatching....anything you'd like.
My bag's finished measurement is 17" tall, 10" wide and 5" deep which is slightly smaller than a standard paper grocery bag (17" x 12"x 7"). I lost some width because of the French seams and because one of my fat quarters was cut a little wonky.
The bags I've been using are 17"x14"x5" and the typical reusable bag is 14"x 12" x 9".
I'm thinking it would be great to color code shopping bags, the way I do cutting boards to prevent cross-contamination...red for meat, green for produce, etc.
I had been thinking about a 3 fatquarter bag, but that would double the volume, and I'm not sure I could lift it when full.


No comments:
Post a Comment