Showing posts with label Love Entwined. Show all posts

Tuesday, July 23, 2013

LE Center

It took me most of my day off (maybe 9 hours) to prep and stitch down all these points.    I was going to do a darker blue, but I found lots of these teal scraps left over from the double wedding ring quilt that I could work in here.

In retrospect, I should have sewn the circle down first, but I thought it was going to be a little too big and thought it would be easier to stitch the circle ring smaller than it would be to resize or adjust the points to match.

Now I wish that I would have used the darker blues that I started with for the outside zig-zag border.  Oh well.

As I was stitching, I spent a lot of time thinking about this pattern.  Although I appreciate all the tiny little details, I like more white space in my quilts.  I'm going to skip the round flowers and even the 6 petaled ones that surround the star.  I'm really looking forward to the corner vases and I think they will stand out more without the extras.   To further annoy the purists, I also plan on making the  next several borders larger, spreading the designs out  for white space, and to make up for the fact that I'm not crazy about the bow/swag outer border.  Those corner designs that look like willows / amaranth / sad corn....will likely be replaced by dragonflies.   At least that's my plan as of today.

Wednesday, July 17, 2013

Change Tack

The great thing about starting a new project is the opportunity to approach a problem from multiple directions.

Strangely, I abandoned my favorite method of applique for the center in favor of a foundation pieced star thinking that it would, in the long run, be simpler and faster.  As part 2 came out, my approach was to fall back on fast and easy back basting applique.  I had considered piecing, but once I saw the smaller scale of this piece, that seemed like it would add a lot of seams and make the whole thing seem much heavier than necessary.  Not to mention increase the odds of lots and lots of unmatched points.

Last night I started the zig border using my usual technique.  Though not bad, I came to realize a couple things.  1)  I NEVER applique things with straight edges. I guess I never saw an advantage of using a technique that is so splendid for something curved somewhere where a 3 second pieced seam would do.  2) Starting with a straight piece of fabric would probably increase the odds of having a straight edged applique.  Seems obvious, but it took several pieces for me to make this discovery on my own.

Tonight I made several slices of my zig-zag border fabric 1" wide, from the 2.5" wide strips I'd been using last night.  Maybe I'll get lucky and my parallellagrams will actually have parallel edges.   A girl can dream.

Tuesday, July 16, 2013

Insane

Today I downloaded Esther Aliu's Love Entwined.  Thinking that I might have to rename it Love's Insanity.  I mean, I like applique and I like detail but this is crazy small.

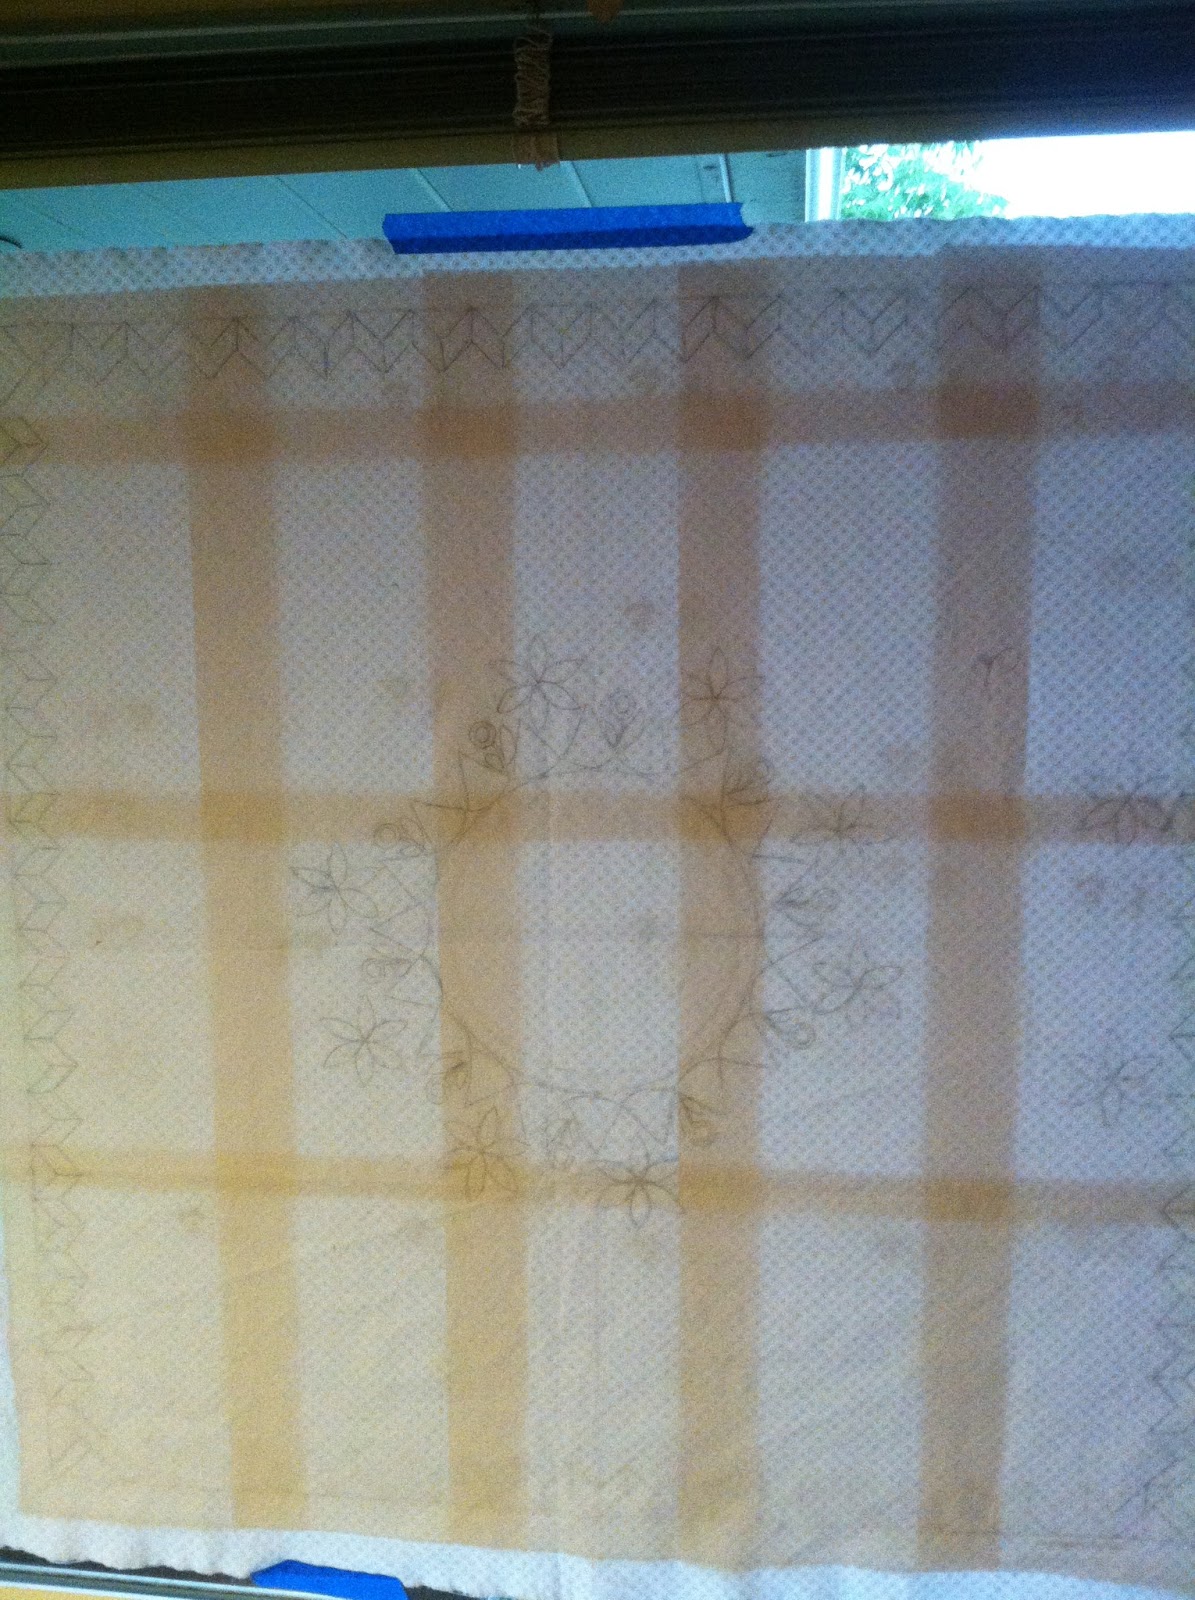
My pattern taped together within 1/8" of what it was supposed to be.  I taped it to the dining room window and before long, had the new design drawn on the back of my center background fabric in preparation for back basting applique.

I actually went out and bought some new blue fabric after I read how many parellagrams I would need for this pattern.  That was, honestly, before I printed out the pattern and saw the scale.

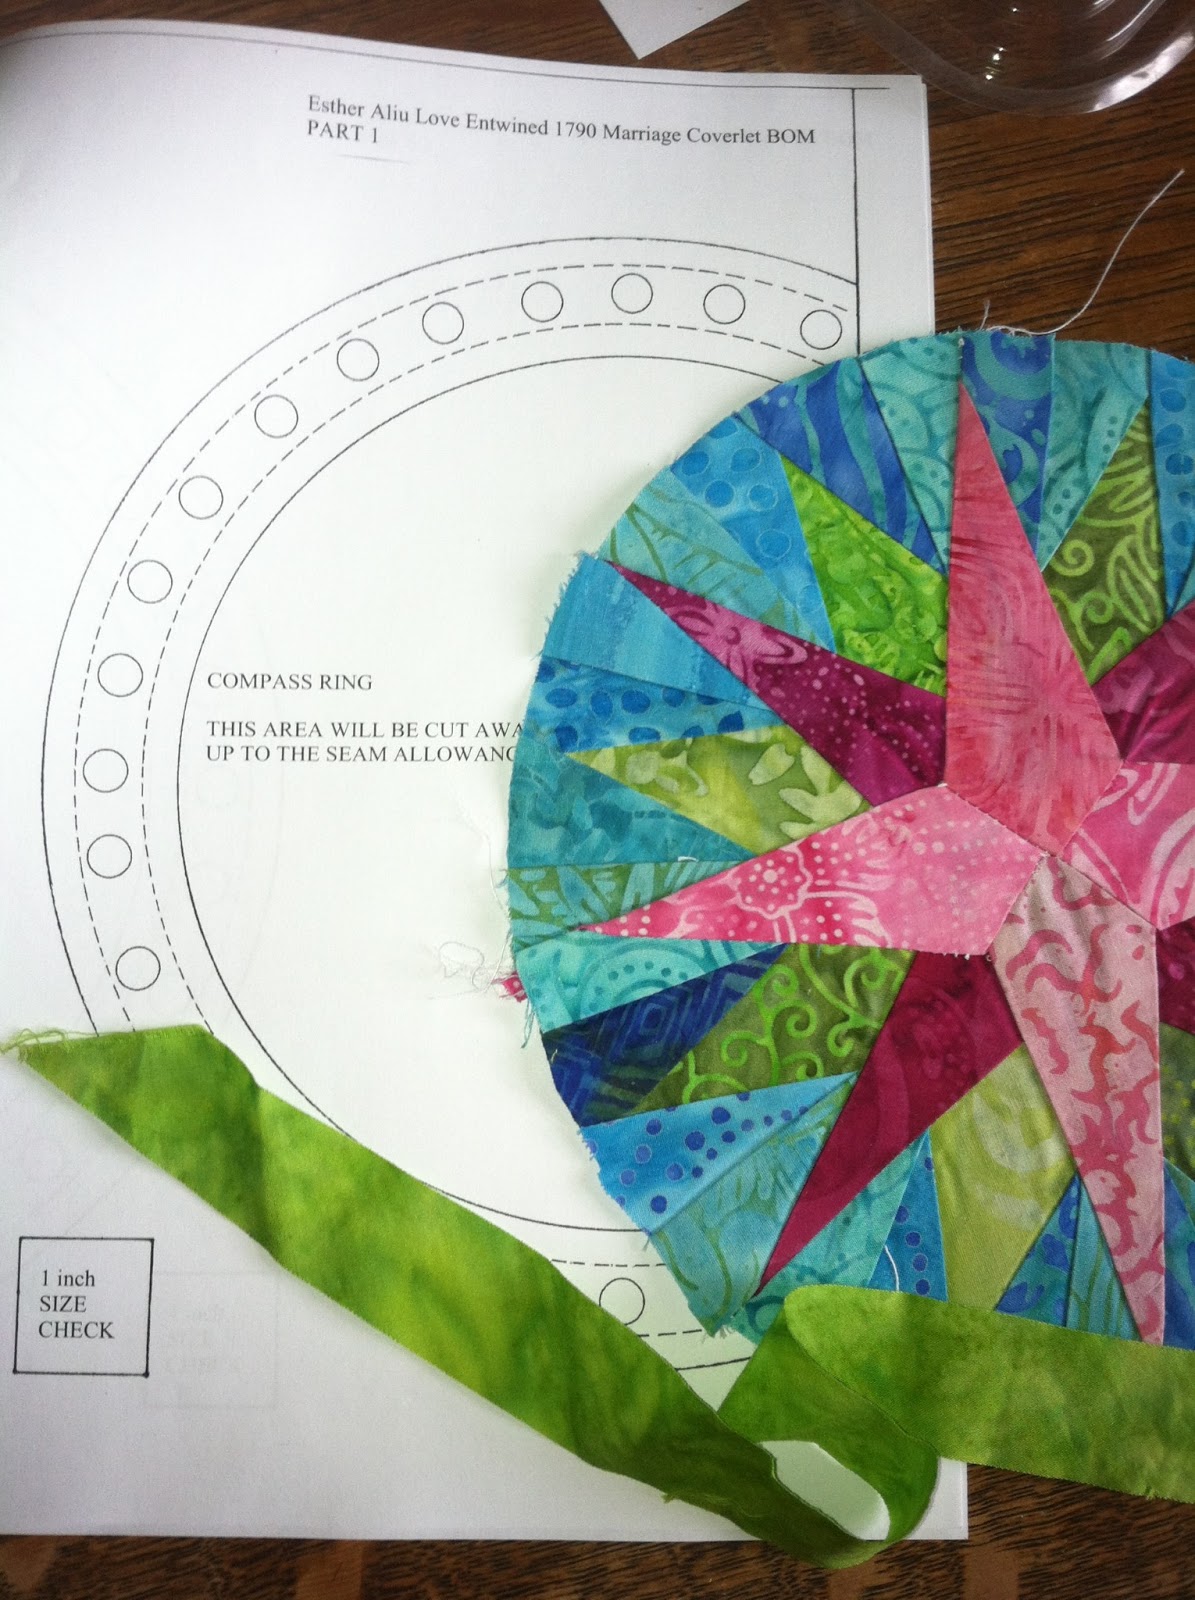
Please note the 1" test block above the compass circle.  Those diagonal strips finish at 1/2" wide.   This is seriously 1/2 the size I thought each element would be.  (Note: Annelein left a comment about the 1.5" measurement in the directions.  That's the length of one "V".  I am shocked about how narrow each piece is.)

When Esther warned beginner appliquers, she was right.
This isn't hard.  But it is tiny and fussy.   And not good for those who aren't at least a little bit crazy.

Oh, and of course I'm going to do it.  Duh.

Saturday, June 29, 2013

Directions?

For the record....I am not incapable of following directions.

It's that I'm cheap and lazy.
And often think of a faster way that needs less fabric or steps.

This morning I was looking at the compass circle and realized that the ring was about an inch wide.

I went to the bin of bias cut strips (yes, I have one, don't judge) and found these left over green strips from when I was making the stems on the Heart's Desire applique that's on my header.

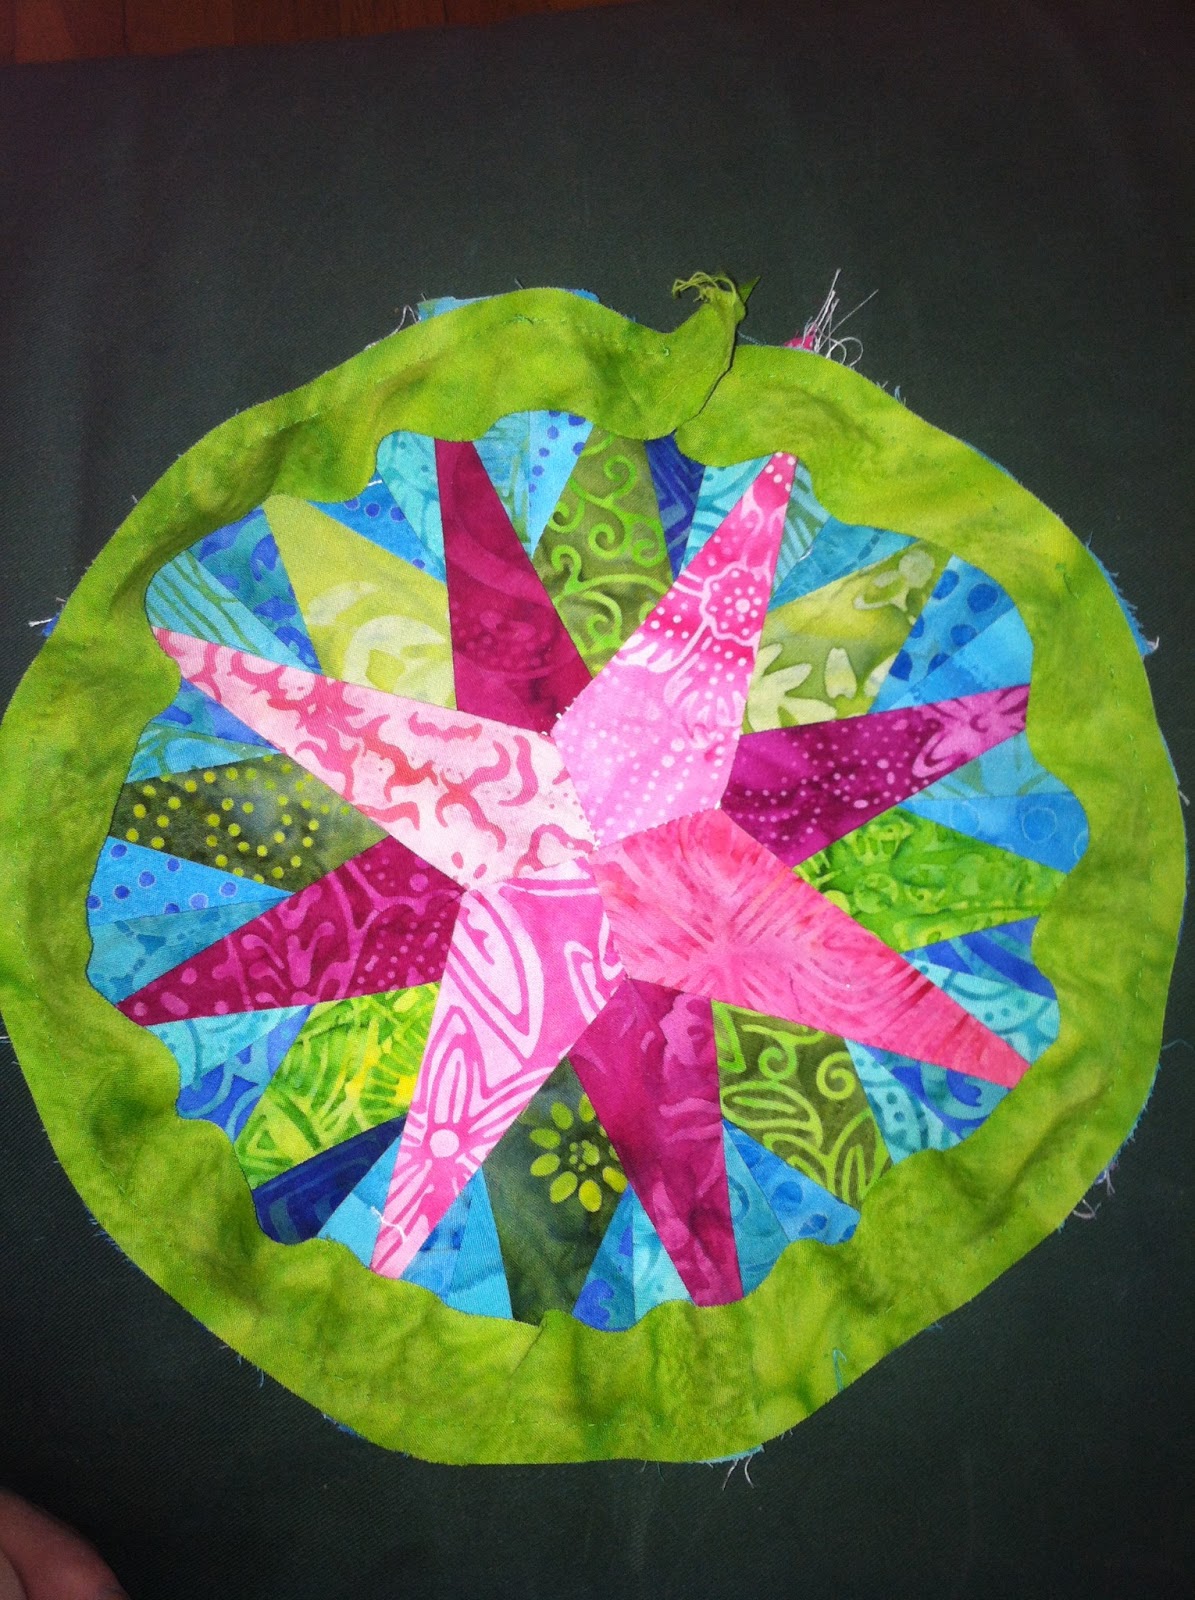
I decided to hand stitch it on since I feel like I have more control than when I'm at the machine.  There's no reason not to do this with a machine if you take your time and use the needle down to keep the outer edges consistent and even.


Before long I had it attached, leaving the ends loose.

Hot iron and spray starch.

Ta-Da!

I'll stitch the ends down when I'm sewing the circle onto the background.  

After the next round of instructions, I'll decide if I want to add the center circle and the bitty dots.

Friday, June 28, 2013

Love Entwined

Well, I've done it again.  Started yet another complex project before finishing one of 20 others that I started. This one is Esther Alliu's Love Entwined.  It is based on a  "1790 Marriage Coverlet" that includes a heavily appliqued 31" center surrounded by 7 borders.  I'm not sure that I can stand to applique the same 24 swags as we get to the outer borders but I am interested up to border 2 anyway.

The center is supposed to look like this.

 The Australian paper sizing didn't work right for my US printer, even after scaling adjustments.  I also had decided to foundation piece some wedges so my mental version of  sewing this part was a little different anyway.

I was able to cut 3 wedges from each page I had printed by adding a seam allowances. (You can click on the picture to enlarge and get a better look).
I made a pattern piece like "Diagram 4" for the next smaller point. I will need to cut 4 of them out of fabric (no pattern or foundation attached).
 I went through the batik stash and picked these.
In retrospect, I wish I would have tried some of the pastels that I recently bought in place of the blue.
I numbered the piecing order (though I changed my mind part way through and did 1,2,3 on one side then 4/5 on the other) then lined up the left edge with the fabric edge.

I used a long quilting pin along the stitching line so it was easier to line up the next piece of fabric.
 Fabric right sides together. .  Here I've pulled back the 1/4" seam allowance so you can see that the pin is helping with alignment.

I also used the trick of holding the whole thing up to the light  so I could see that the fabric was lined up with the stitching line, but that doesn't photograph well.


 At first I was pinning that fabric down but as I got more comfortable, just held it in place while I flipped it back to the paper side.

 Follow the line for stitching.

 Cut away fabric to 1/4" from the stitching line.
 Finger press flat.
Repeat with other fabrics working outward.
Press well.  Trim to size and shape of the paper template.
 At the 8 wedge mark I was feeling pretty smug.
 I used the rotary cutter to make all the pink wedges, then sewed them to the paper backed wedges.
 I followed the lines on the paper side to make sure everything was precise.
 Still feeling pretty clever at this point, even though I realize this next step will end up with Y junctions.
 Making the 1/2 circle .... still going well.
 Being careful to only sew up to 1/4" from the end.
 Starting the victory dance
 But then there was that little bit about the final center seams.

They were resewn multiple times.

Maybe it would have gone better without the Heineken.

I'm guessing I've found the answer as to why the original had a circle motif appliqued on.  To hide the mess in the middle.

But with enough re-sewing and a bunch of spray starch, it's a reasonably impressive, detailed pieced star.  I may skip that center circle as I like it this way.  I can always add it later.

Then it's just a matter of removing the paper from the back.  The whole thing, from making the pattern to removing the paper when finished took one evening.


I won't be adding to the Yahoo Group page for this project.  I really disliked the format of that chat when I was working on Hearts Desire.  I spent a couple days recently trying to get involved in conversations and have concluded that I hate it even more now than I did then.   However, I know that several of my blog followers are moderators and/or participants in the group.  Feel free to mention, link, or even repost pics from this post if it applies.