Showing posts with label Free Motion Quilting. Show all posts

Monday, January 20, 2014

Practice, Practice, Practice

First of all, I would like to rescind previous derogatory comments about feathers in general as I am starting to find some variations which I am quite keen about.  This border from Judi Madsen is one of them.  The double circle (mine look like olives rather than circles, but that's another story) make for very smoothly flowing pebble fill.  I struggled a little on the feathers as this design requires making all the feathers in the same direction (i.e. top of the spine down) instead of alternate directions like most feathers (i.e. down on the left, up on the right).   I know that sounds like a silly difference but it really made a difference as I had to really, really think rather than just flow.  I am also working on a domestic machine so seeing where I'm going around the foot is different than with a long arm.  The little triangle spine is brilliant as it fills in any wonkiness of the feathers.  And clearly I am better at making triangles than swirls.

The other variation of Judi's design was this one.  Hers is a fill for a square which I adapted to fit this panel project.  It looks great from the front (red side).  My less than perfect swirls are evident on the contrasting yellow back.

I have to remember that washing this when I'm done will make is so all the imperfections just make for interesting texture.

That's my story.  I'm sticking with it.

More fills just for practice. These are bi-colored panels and the other half will be green.

I also tried some swirls inspired by LuAnn Kessi.  I'm undecided how I feel about them at this time.  I ran out of bobbin and went to bed rather then winding a new one.

I keep plugging away on the USA hand quilting.  Here it is from the back.  The nearer sections have the between the block fill done, which I will have to go back and do on the earlier blocks.   And here's a close up.  I'm maintaining a progress widgit on the right sidebar.  I'm now done with 33 of the 50 blocks.

Sunday, January 19, 2014

More Practice

I've been practicing new fills.  This is a swirl and feather inspired by  Judi Madsen.

My book did arrive in yesterday's mail and I'm off to try some other FMQ ideas.

Same thing as above, but with more paisley fillers.  This was also the point in the practice where I ran out of the yellow variegated thread that I was trying to use up from the stash.  Unfortunately, there's little yellow thread in the stash so I was off to the store.

I figured that if thread wasn't on sale at JoAnne's, I at least had a couple 50% off coupons.  Guterman was 40% off, but selections had already been picked through for what I wanted.  Shockingly, the cut counter was NOT swamped and calicos were 50% off, so I stocked up on yellows.

Yes, I know I'm on a fabric diet.  But I've been working so diligently on the FMQ practice panels that I'm nearly out of stash yellow, which is what is the back of each panel.

I've been grabbing panels to practice on that are from throughout the finished quilt that I have planned.  My hope is that it will help spread out different techniques as well as what I hope is progress in my technique.  But I did want to see if my joining technique was going to work, so here are panels 1,2,&3 joined.

The overall design for this practice quilt came to me 2 years ago.  You can read about it at this post if you're interested. 


Friday, January 17, 2014

Practice

I've been practicing a feather fill for squares that I saw on Kay Bell's blog, and decided to give it a try on fabric but my practice panel is a rectangle.  Could be worse.  Could be better.  Definitely organic.

One of my UFO's, waiting to be quilted is the Puce 'Treuse Goose (On Spruce).  I bought this fabric on a whim, just to make a quilt with that name.  (The backing has a pine branch fabric.)

After a couple doodling attempts on paper, I worked out this quilting design.  The feathers will be on the geese (ha ha ha)  with the connecting sections of v-shaped circles.

Note to self - don't like variegated thread for pebbles as it creates random weird bold circles.

And finally, in an attempt to like (and be good at) feathers, I've been trolling the internet looking for examples that I like.  Judi Madsen came to my rescue with this swirl and feather filler.   According to Amazon, my copy of her book Quilting Wide Open Spaces should be arriving today, so I may have some other practice pieces to share by the end of the weekend.

Friday, December 20, 2013

FMQ Feathers

I have issues with feathers.

My issue is that I don't like traditional feathers.

So I don't make them.

Therefore, when I think I might want to make some, I have no experience and they look like $#@&.

I spent some time trying to work out the flow.

There was A LOT  of erasing while I tried to sort out how to shift directions.


I did the first practice pass with an orange pen, trying to get into a rhythm.  I figured out that my groove is top to bottom and left to right.

It helps me to identify the spot on the inside curve where I need a "circle" to wrap the opposite direction feathers around.

For the next pass, I used a green pen and tried to focus only on the "spine" and focused on where things connected, letting the outer part flow on it's own.

I tried marking the spine of my practice block with a wash away marker but it wasn't noticeable on the dark green, so I used a yellow pencil on that side.

My final outcome was this.

When I was stitching it, everything felt smooth and amazing.  I tried to focus on ending the feathers in the same location to make heart shapes.

On close inspection, 30% of those feathers are still a little wonky.  And my effort to make a "stem" spine on the right just simply looks bad.

Oh well.

Progress.

Monday, October 14, 2013

Skirt Cont...

I do believe that I left off having finished this panel and debating about background fill.

The comments left about stippling detracting from the design reminded me of this practice piece I had done.  It did, indeed, detract from the central design.

I problem that I resolved by keeping the background fill linear.

So I decided to try that on the skirt panels.  I did switch to a grey thread and a walking foot.

To bypass the marking issues, I tried using freezer paper templates.

Didn't really work.

I would be outlining nicely, then the paper would become un-fuzed and I was either running the foot under the paper, or it would randomly run over one of the pointy tips.

The result was 2 side panels that look more like cousins than twins.

After a hot wash and dry, they have some nice texture to them.
Since I don't hate them at this point, I shall continue on.  I've managed to make the whole project more difficult by adding a pocket detail that wasn't in the original skirt, a separating zipper, and a new waist detail.  I am absolutely certain that my plans exceed my abilities.   Stay tuned.

Saturday, October 5, 2013

Skirt Update

I do have some progress to show, but it was not without it's challenges.  

After daydreaming about this project all week, I woke up Saturday morning jazzed (chuffed...psyched...) to get started.

I had decided that plastic templates would be the way to go since I would be making 2-4 repeats of most of these designs.

I was so careful to cut them out just inside the tracing lines so I would have accurate templates.

But then I hit a point when I realized that my FMQ is so if-y that it was unlikely to follow those lines very well anyway.

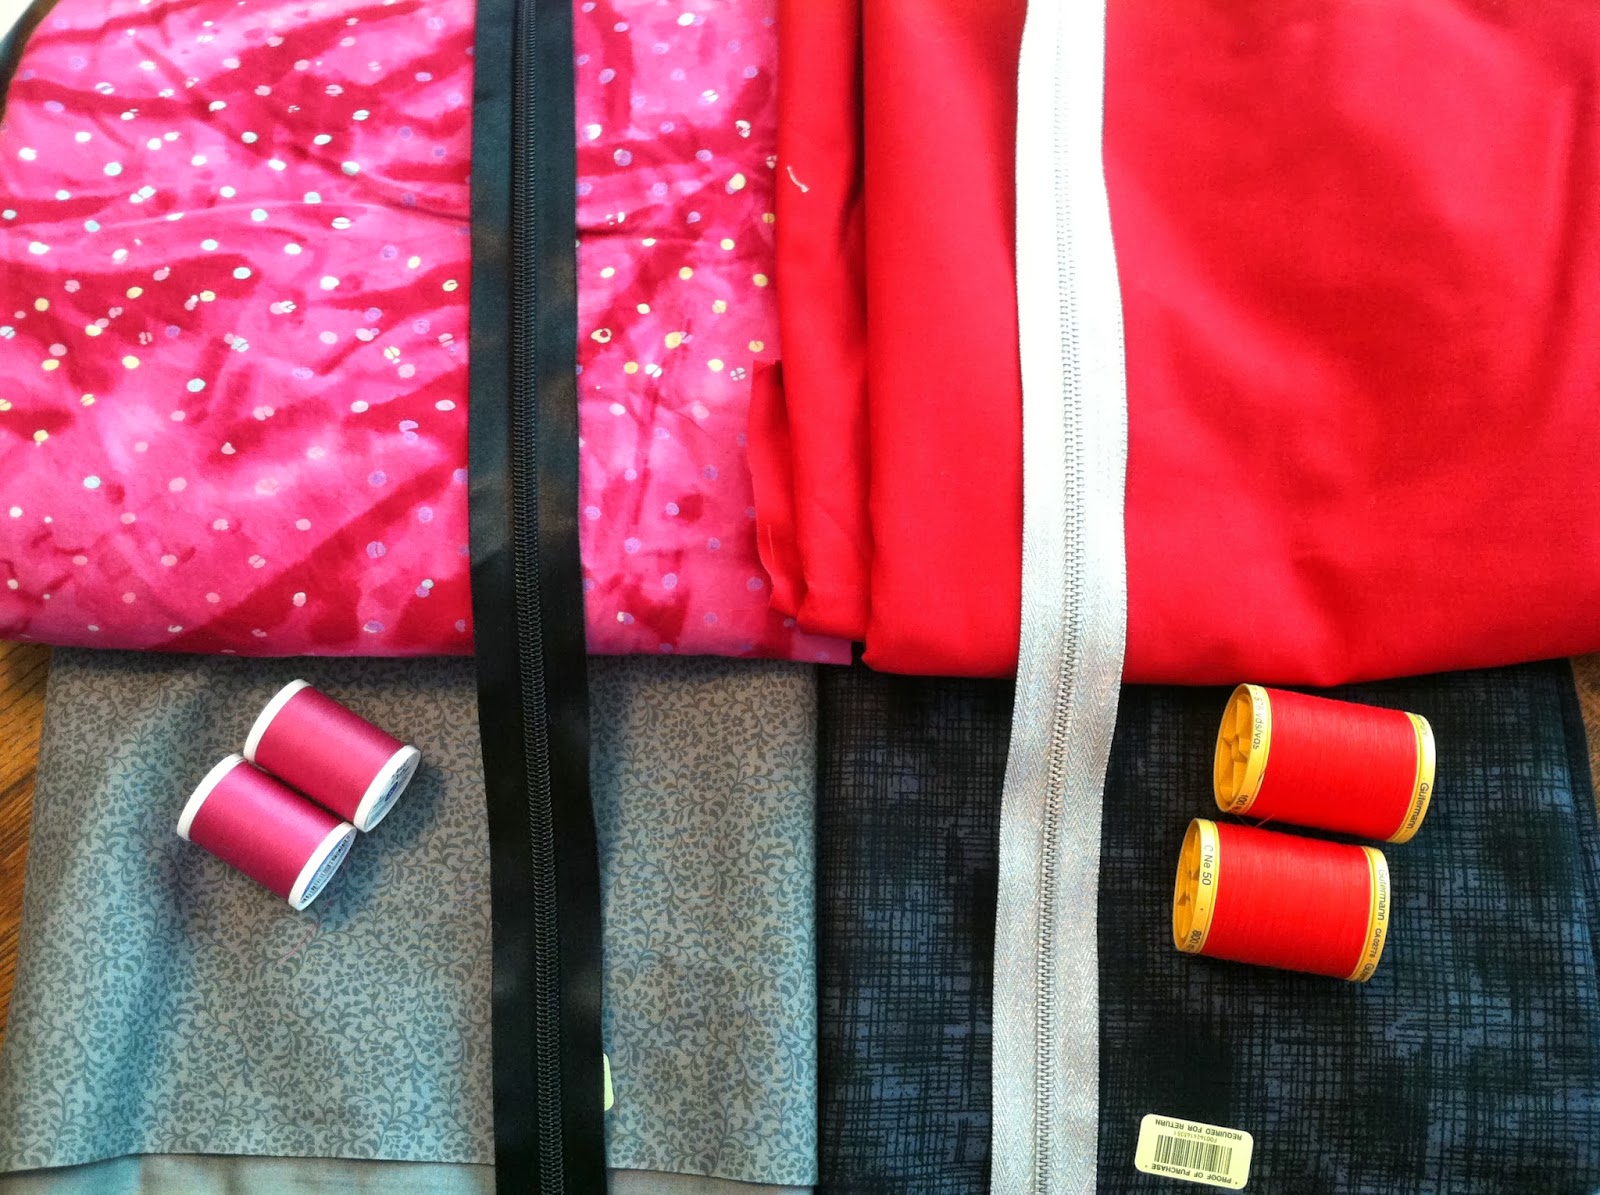
As I was cutting them out I had a tragic realization.  I ALWAYS have yards of black Kona Cotton hanging around the house.  Um. Not today. $#^+!   I'm willing to shift gears, but soon realized that of the 1000 yards of fabric in my stash, I don't have a single piece over 2 yards in a color that A) I will wear B) I can imagine in this design.  And JoAnne's Fabric on Saturday morning is worse than a root-canal with no medication.
After a brief period of panic, I decided that Hancock Fabric might be less painful.

Turns out that I was right.  Quilting cottons 50% off.  As were zippers and Coats & Clark thread.
Instead of a stash buster project, I added 6 yards for this project and 9 yards of white-on-white - my standard quilting background. HOWEVER, I am using stash fabric and batting.  (And if I make it to the red/black version, stash thread.)


And then there was the Marking Saga.  I don't mean to be a drama queen...but really?  I can't find anything that really works on a mid to dark fabric.  I had an insanely expensive white Clover marking pen that I am totally hoping I can find the receipt so I can return it.  I bought it last week for this project thinking I'd be marking on black, and it was an absolute piece of crap.

I pulled out the water soluble blue marker thinking it would work.

Kind of did as long as I had full day light, overhead light, desk lamp, focused LED lamp and the machine light.  And reading glasses.  Double normal strength.

Here is the center front panel of my new skirt.  Since this is a major experiment I am also playing with thread.  I am using a Sulky embroidery thread on the top (with and embroidery needle), and the Coats & Clark on the bobbin.   [this panel has whatever was already on the fuschia bobbin...but the rest will be C&C.]

I did outline stitching on this panel so I can wash them all and get the shrink and texture that I want before I cut out and attach the panels.  I am using Bamboo batting (stash).

My current quilting dilemma is background.  I am thinking that I need to add some sort of stippling so the design will stand out.

So, anyway, welcome to my new 3-D quilt project.

Monday, September 30, 2013

William Morris Skirt?

The most recent sewing debacle  got me thinking that I really needed to start with some baseline of success.  This 6-panel skirt that I made this summer was my first attempt to make a muslin, adjust, and save the muslin as a new master pattern.

For some bizarre reason (unknown to me), I have started getting a fashion magazine called InStyle.  Ironic since I buy about 4 items of clothing per year.

I was flipping through it and ripping out inspirations when I saw this!  A QUILTED mini.

Even though I have great gams for my age, as a public service, I choose not to wear anything this short.

But the concept got me thinking.
I was imagining something quilted in  Baroque style leaves...

but then, it occurred to me that Michele Hill has some great William Morris style floral and leaves already in a handy format. In a book I happen to own.

And they are on my "to do" list.

This would be my FMQ template drafts of the front panels of my new skirt.


Only remaining debate: What color?

Sunday, November 4, 2012

Quilting Again

I spent Saturday morning doing my least favorite quilt related task.  I sandwiched and basted a quilt for hand quilting.  That involves moving furniture and sitting on the floor for ages, making giant basting stitches to hold everything together.

This is the project for which I used the machine trapunto technique of basting the extra layer of batting in place using FMQ with a wash-away thread on top.  I posted about this technique on Celebrate Hand Quilting a couple weeks ago.

Unfortunately, I had used a new marking pencil that mostly brushed off during the FMQ process.

That tends to be a problem because I am not very good / accurate with FMQ so my basted flowers are all wonky.  I spent the day trying to reshape flowers as I stitched.


All things considered, it's turning out pretty well. And I'm starting to actually enjoy the fact that my floral motif is a little organic and not as symmetrical as it was planned.

This final photo really illustrates bad basting turning into nice quilting.


Saturday, March 3, 2012

March FMQ Challenge

The March FMQ Tutorial is by Ann Fahl and has a ton of info on FMQ and a couple of doodley fills.   She offered a few variations and after drawing them on paper, decided that only 2 interested me enough to commit to fabric.

She suggested a stippling variation that alternates what she refers to as "loop & twist".  I would have called it loop & villi.  Well, at least my version of it looks like that.  My paper doodle had softer waves b/w the loops, but when I pulled out practice quilt #1, I decided to try the fill on a narrow green strip so I could use some Wonder Fill Egyptian Cotton, variegated green that I had in the thread bin.  I'm not loving it.  My thought at this point is that it's just awkward for a narrow strip fill.

So I moved to a different section and tried the spiral fill/flower variation.  I have always liked double loops that I refer to as "olives".  This idea added a couple more rounds then petals.  What I LOVE about this is that instead of trying to exactly repeat the spiral, or echo it...you just take off after the swirl is done to another area.


I really had fun with this.  I made fat squat petals, and long skinny ones, big flowers, little ones, partial flowers.  It was really fun.  I like the variety.  I will do this again.

I moved on to practice using the leaves from my Ojibwe Bead work inspired quilt.  The last practice panel, the stippling detracted from the fancy leaf design.  So I decided to keep the leaf plain and fuss up the background.

I like it better, but I have now come to the conclusion that I don't really like stippling in general.

It's a fast way to fill things in, but I'm not convinced that it's really the fill for me.  Which just popped in my head to the tune of KT Tunstall " Black Horse in the Cherry Tree"

Whoo Hoooo, Whoo HOO.  No, no...no, no, no! You're not the one for me...no, no...no no no! You're not the fill for me.

Tuesday, February 14, 2012

FMQ Practice

I've been doodling and trying ideas for FMQ.  This is one of the leaf patterns from the Ojibwe Inspired Applique 

I'm very pleased with the fill, but the stippling that I used distracts from the interesting fill for the leaf.  Next time I'll try something geometric like lines or grid that will show off the curves.

I checked out a couple library books on machine trapunto.  I had some wash away thread which I bought for basting but hated.  But it worked well for this technique.  I traced some flowers and leaves from the Esther Aliu Hearts Desire pattern with a wash away pen on the yellow - white chalk pencil on the green.  I used a layer of poly batting under this fabric (I used spray basting to hold them together)  and FMQ the outline using wash-away thread on the top and white on the bobbin.

  Then with embroidery scissors, I trimmed the batting close to the stitching lines.

I think this might look better with a denser, high loft poly batting, at least for the flowers....but this is all I had.

I added a layer of cotton batting and a piece of backing fabric.  I also used some applique pins in addition to the spray baste just to make sure everything stayed together.

My basting lines for the batting were very wobbly in places, so I liked this approach as I had a second chance to follow the outline with the real thread layer and improve the shape of anything that looked wonky.

My camera didn't catch the details very well.  I used straight(ish) lines in the green about 1/4" apart which helped make the leaves pop.  I made the lines intentionally wiggly on the yellow sections, but the same distance apart.   I used a varigated yellow to outline the flowers - Next time, I'll stick with a dark gold.  The background thread on the yellow is a pale yellow.

Here's the back.  I used off-white in the bobbin for this whole square as I wanted the back to be all yellow/cream so the final quilt will be dark fall colors on the front and pale spring colors on the back.

And in case you are wondering why my FMQ panels are all pieced, it's because I  had designed a quilt in fall colors that was long strips of green, gold & red and figured out a way to break that into 42 practice panels.   Last night and this morning I  finished cutting out and piecing all the panels using old stash material!

I started FMQ in May 2011 and I'm struggling with a bunch of advanced FMQ designs in my head, with only advanced-beginner skills.