I do believe that I left off having finished this panel and debating about background fill.
The comments left about stippling detracting from the design reminded me of this practice piece I had done. It did, indeed, detract from the central design.
I problem that I resolved by keeping the background fill linear.
So I decided to try that on the skirt panels. I did switch to a grey thread and a walking foot.
To bypass the marking issues, I tried using freezer paper templates.
Didn't really work.
I would be outlining nicely, then the paper would become un-fuzed and I was either running the foot under the paper, or it would randomly run over one of the pointy tips.
The result was 2 side panels that look more like cousins than twins.
After a hot wash and dry, they have some nice texture to them.
Since I don't hate them at this point, I shall continue on. I've managed to make the whole project more difficult by adding a pocket detail that wasn't in the original skirt, a separating zipper, and a new waist detail. I am absolutely certain that my plans exceed my abilities. Stay tuned.
Showing posts with label Flowers. Show all posts
Monday, October 14, 2013
Saturday, October 5, 2013
Skirt Update
I do have some progress to show, but it was not without it's challenges.
After daydreaming about this project all week, I woke up Saturday morning jazzed (chuffed...psyched...) to get started.
I had decided that plastic templates would be the way to go since I would be making 2-4 repeats of most of these designs.
I was so careful to cut them out just inside the tracing lines so I would have accurate templates.
But then I hit a point when I realized that my FMQ is so if-y that it was unlikely to follow those lines very well anyway.
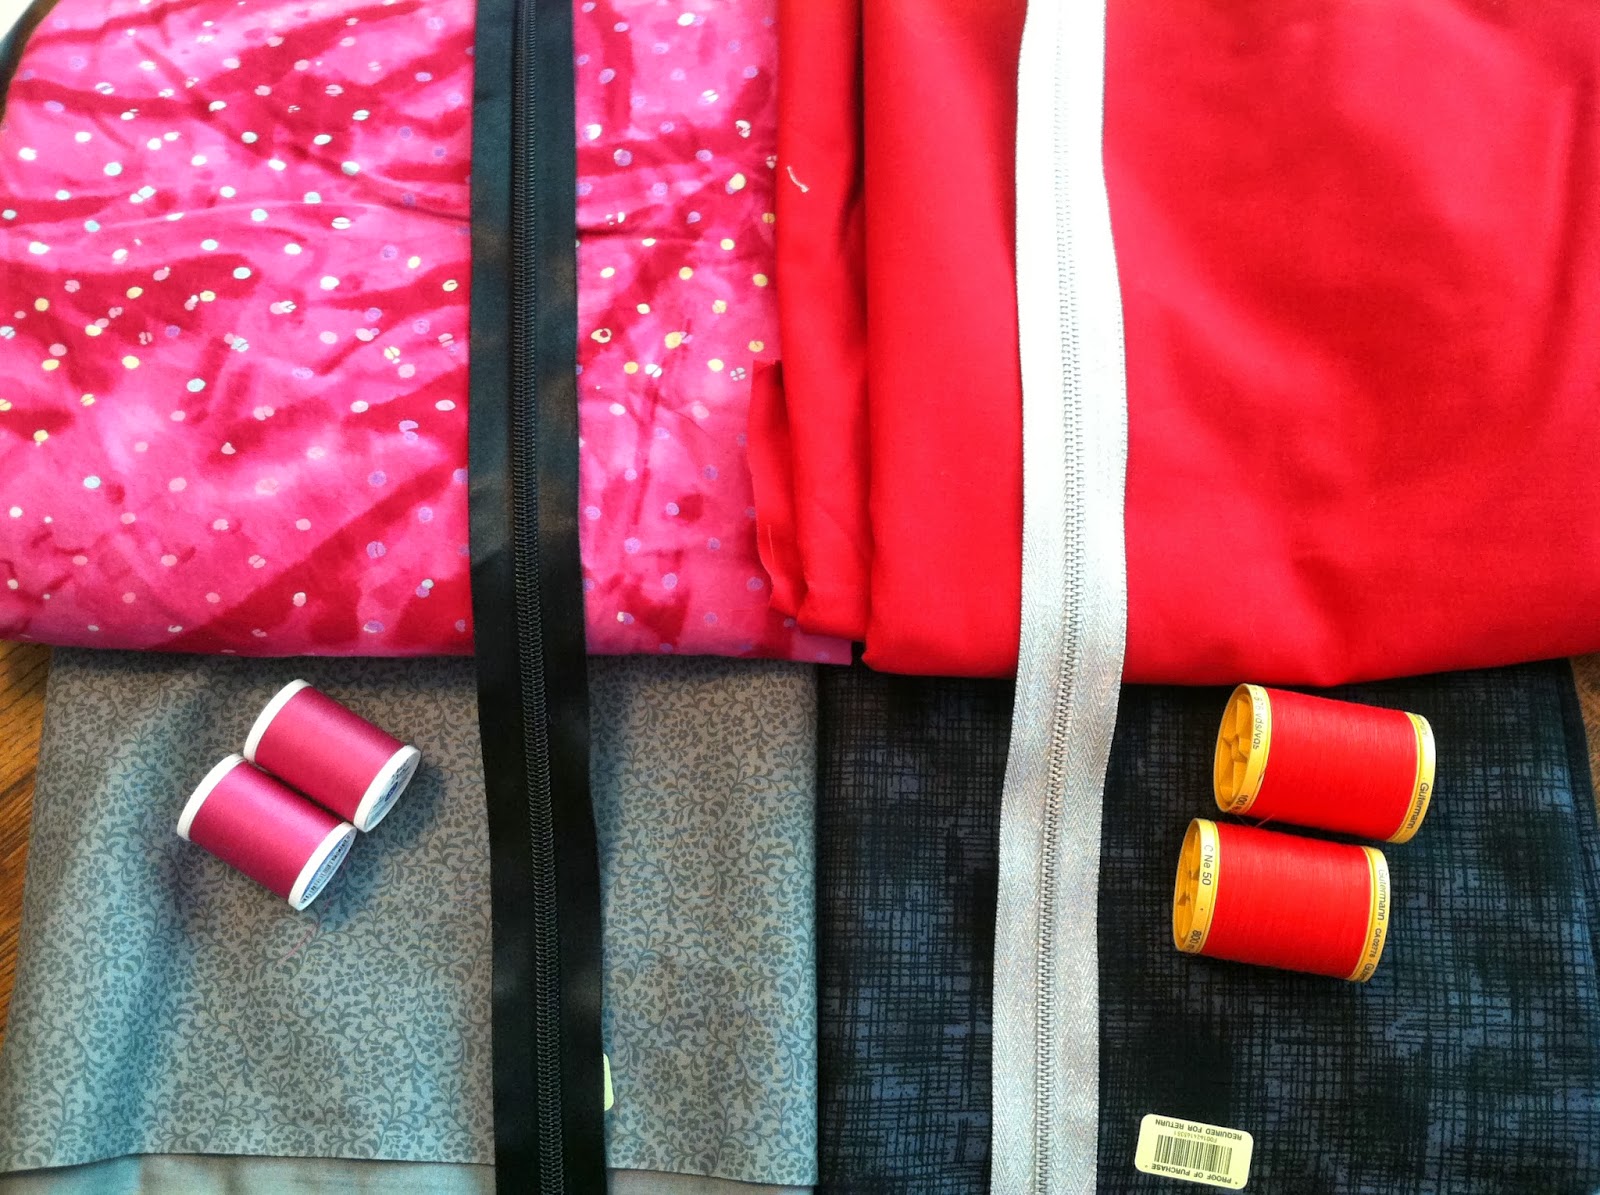
As I was cutting them out I had a tragic realization. I ALWAYS have yards of black Kona Cotton hanging around the house. Um. Not today. $#^+! I'm willing to shift gears, but soon realized that of the 1000 yards of fabric in my stash, I don't have a single piece over 2 yards in a color that A) I will wear B) I can imagine in this design. And JoAnne's Fabric on Saturday morning is worse than a root-canal with no medication.
After a brief period of panic, I decided that Hancock Fabric might be less painful.
Turns out that I was right. Quilting cottons 50% off. As were zippers and Coats & Clark thread.
Instead of a stash buster project, I added 6 yards for this project and 9 yards of white-on-white - my standard quilting background. HOWEVER, I am using stash fabric and batting. (And if I make it to the red/black version, stash thread.)
And then there was the Marking Saga. I don't mean to be a drama queen...but really? I can't find anything that really works on a mid to dark fabric. I had an insanely expensive white Clover marking pen that I am totally hoping I can find the receipt so I can return it. I bought it last week for this project thinking I'd be marking on black, and it was an absolute piece of crap.
I pulled out the water soluble blue marker thinking it would work.
Kind of did as long as I had full day light, overhead light, desk lamp, focused LED lamp and the machine light. And reading glasses. Double normal strength.
Here is the center front panel of my new skirt. Since this is a major experiment I am also playing with thread. I am using a Sulky embroidery thread on the top (with and embroidery needle), and the Coats & Clark on the bobbin. [this panel has whatever was already on the fuschia bobbin...but the rest will be C&C.]
I did outline stitching on this panel so I can wash them all and get the shrink and texture that I want before I cut out and attach the panels. I am using Bamboo batting (stash).
My current quilting dilemma is background. I am thinking that I need to add some sort of stippling so the design will stand out.
So, anyway, welcome to my new 3-D quilt project.
Wednesday, September 28, 2011
Technique Snob
I've been pondering discussions I've been reading where quilters feel it necessary to defend using a specific style or technique in quilt making. And I'll be the first to admit that while I can admire any quilt, I go weak in the knees when I see something made with needle-turn applique and hand quilting. It is always my preferred style. Not only do I like the finished look, but also how well it holds up over time. I envision every quilt I make as a potential heirloom.
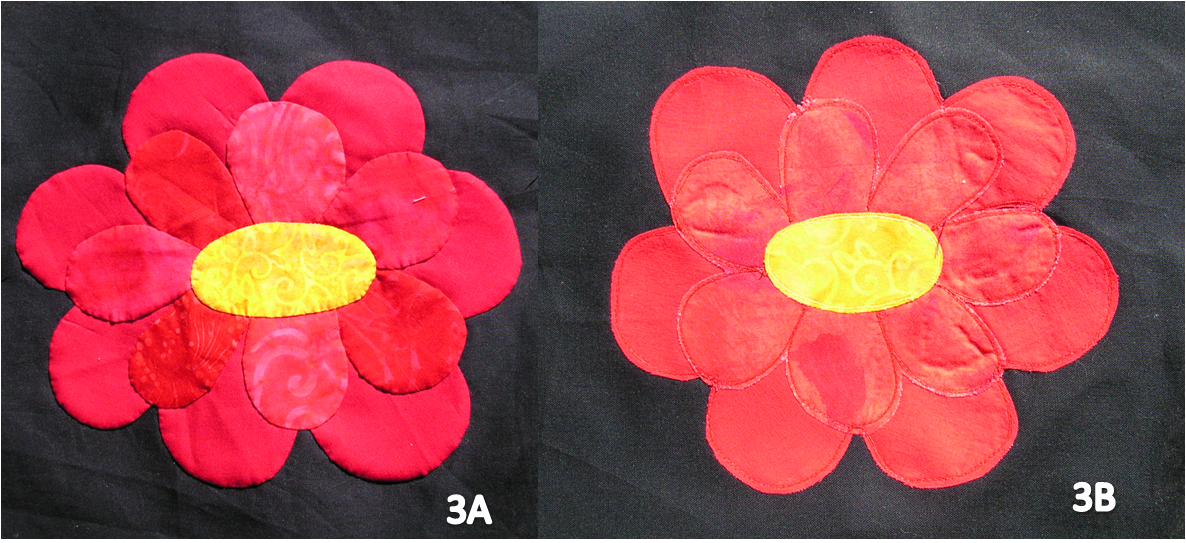
After finishing some hand applique flowers for Leah Day, I decided to make a second set using a fusible and raw edge applique technique so I could compare them for myself (for real...not just what I thought they'd be like). Here are my observations:
The flower on the left (1A) I made by drawing the petals on the back of the material freehand and using back-basting needleturn. The yellow centers are yo-yos. The one on the right (1B) is reversed b/c I made the pattern off the one on the left and forgot to flip the pattern for fusable (user error).
I have to admit, that this is my first serious attempt at raw-edge applique. On the up side, it only took a couple hours to make all 4 flowers, compared to a week of evenings watching TV for the needle-turn. My practice with free-motion quilting made my stitching pretty even and I did do 2 rows of stitching, which I read somewhere gives a better finished product. The thread-painting effect of petals also allowed me to cut out large pieces of fabric for flowers 3&4 saving the time and fuss of arranging each individually.
That being said, I really dislike the raw edges. I was using scrap fabrics and the edges of the lower thread count fabrics look frayed already and it's never been washed. The decision of if I would EVER do raw-edge applique again would come down to quilting. These flowers were designed to show off Leah's dense free-motion quilting. Not only will that improve the "flat" look of the "B" flowers, but will add another layer of thread to keep the raw edges contained.
Well, my experiment is over and it's time for these poseys to head to the post office so they can enjoy their vacation in North Carolina.
Labels:
Applique,
Back Basting,
Flowers,
Leah Day,
Needle Turn Applique
Tuesday, September 20, 2011
Free Form Flowers
I was extended a challenge by Leah Day for a collaboration that would combine my love of applique with her amazing FMQ.
I thought that I was going to have 14 hours of car time to applique on this project over the weekend on our way to Wyoming to camp. However, I ended up either driving or supervising Skater Girl who has a driving permit.
Once camp was set up, I doodled out this funky flower on the fabric and stitched down a couple petals while it rained. I'm trying to decide if I'll add some small yellow yo-yo's for a center.
When I got home, I drew this funky zinnia. The center still needs to be stitched, but I just couldn't wait to post the picture.
I thought that I was going to have 14 hours of car time to applique on this project over the weekend on our way to Wyoming to camp. However, I ended up either driving or supervising Skater Girl who has a driving permit.
Once camp was set up, I doodled out this funky flower on the fabric and stitched down a couple petals while it rained. I'm trying to decide if I'll add some small yellow yo-yo's for a center.
When I got home, I drew this funky zinnia. The center still needs to be stitched, but I just couldn't wait to post the picture.
Subscribe to:
Posts (Atom)