Wednesday, March 28, 2018

Dragonfly Challenge

I am issuing a challenge to all my crafty friends. Adapt this Johanna Basford image to your medium. Copyright ok for personal use. Quilt, appliqué, quill, crochet, scrapbook, paint, woodcut. 
Deadline is Oct 20. Any medium. Ok to submit more than one. No rules. And I will come up with some kind of prize, depending upon who plays. Probably food gift certificate because who doesn’t love to eat?

And just a reminder.  Dragonflies don't have antennae.


And a reminder from the artist's studio:
"If you are using Johanna’s designs on your creations and keeping them for personal use we do not have an issue with this, we love seeing everyone’s personal projects and the unique ways which so many artists and craftspeople interpret Johanna's drawings.
We do however need to make you aware that our publishers are very strict when it comes to enforcing copyright law if the artwork is used on a commercial application, so you can not sell any of your work featuring Johanna’s designs.
What this means is, if you are selling the objects you have created that feature Johanna’s artwork, then the publishers may begin legal action against you. We just want to make you aware as we really wouldn’t want you getting into any trouble!

If you are making the objects as gifts or just for yourself and sharing images online etc, then this is just fine – we LOVE this!! "

Tuesday, March 27, 2018

Finish 3

 Last fall, my friend Katy asked me for an idea for using some Jelly Rolls.  I had been collecting ideas, but not actually done any.  I started this design.  Tutorial Here. So I finally got around to finishing what I had cut out, then added a 5" dark green border to anchor it.  
 I stitched in the ditch on the white.  Then decided it needed more interest so I added 2 more lines of stitching also in the white.
 I haven't done a self binding for a really long time.  And now I'm wondering why.  It went quickly and the finish was so much better than 95% of the machine stitched bindings I have done.
 I did the binding first, thinking it would be easier to get straight.  Then I went back and filled in the outer border with feathers.  I learned that I do best by sewing one side of the feathers at a time rather than trying to alternate right and left.
Washed and dried before I went to bed and officially finished!

Sunday, March 25, 2018

Finish 2

The next round of finishes are boring but super functional.  My hot pads were starting to fall apart and need replacement. 

In the pile of UFOs was a large rectangular panel that was a quilt as you go test. 
I cut it in half and added binding also from the "leftovers" bin. 
There's only one layer of cotton batting, but they are big enough to fold in half if I was grabbing something very hot or very heavy.
 My kitchen has dark green counters and yellow paint.  So I cut a 9" strip of a wonderful yellow fabric, and one from a coordinating fabric.  I added 2 layers of cotton batting.  FMQ, then surged.
I might go back and add binding.  Or I may not.  This is all about function.

A useful finish and used up an orphan block and scrap batting.

Saturday, March 24, 2018

Finish Time

I am finally, and completely an empty nester!  I have spent the past month reclaiming and reorganzing space so both the hubby and I have hobby space as well as a genuine guest bed.  Unfortunately, I realized that I don't have space to put away all my quilting and sewing stuff, so I am back on a finish streak.
One of the UFO bins was for a sea shell applique quilt that I had designed and started over a decade ago.  The original design had 30 shells in 8 different shapes and sizes.
The bin included 3 dozen very textural fabrics like these. 
Plus a couple of sea shell identification books.
 
While I still love this idea, I'm a mountain, not a beach girl. 
So the 3 finished and one nearly done block became a pillow case.
Most of it is machine quilted, but I had to hand quilt the shell backgrounds to get the texture I wanted.

Zebra Auger

 Cowrie

 Leopard Scallop

Textile Cone

And this bin is ready to transition from "Seashell UFO" to an expandable applique library.

Wednesday, November 29, 2017

Delft Blue

My apologies to followers who were psyched for the bookcase quilt.  Life has taken a turn and I'm currently full time primary caregiver for my adorable granddaughter in addition to working full time+.   I am lucky to have a couple hours a week to work on quilt projects.

A couple months ago, I was inspired by this Delft Platter to make a quilt.
I collected fabrics and drew out some designs based upon traditional Delft Pottery designs I found online.

I have a great stash of blues including a fabulous gift of batik fat quarters from my BFF Emily that I had been saving for something amazing.  I have been having fun using them.

This has, from the beginning, been a secret gift for someone whom I know is a connection through at least one source of social media.  Which is challenging sharing the progress, while hiding the secrets of the design.

The center is mostly done (needs some dots and swirls). Here are some of the progress shots as each little section was completed.


I kept changing my mind on the borders, so I ran short on fabric to pull off the fast version, but will make up for it with some applique.  Less than the original plan, but more than the cheater version that didn't work. The "wedges" you see in this pic will be filled with some oversized floral applique in the vibe of the original platter.

So...that's what I've been up to these days.

Monday, September 18, 2017

Katy's Jelly

My friend Katy text me late this afternoon asking for a fast Jelly Roll pattern.
I never let something like...I've never bought a Jelly Roll....stand in the way of a challenge.
I have actually been cutting and saving a 2.5" strip of each piece of batik that I buy, so I have been collecting ideas.

After a couple rounds of "that would look cool" vs "keep it simple stupid", I came up with a 2 tone spiral based on ideas I'd saved of others work.  This is the simplified version of my favorite. This tutorial is for Katy.  But I won't complain if you decide to make one too.

Katy, sort your jelly roll into light and dark.  If there isn't a lot of contrast, consider adding a strongly contrasting set of strips. I really like the blue strips you showed me.  It could look great with pink, lime, black, white contrast...or orange if she's a BSU fan.  The other set had some dark and light, but may need some extra cream for filler.   For my demo, I did 20 strips of white-on-white in 5 variations and 20 of 3 different greens.  I'm starting with the darkest green in the center. Sort all of your strips darkest to lightest and use them in that order.  If you aren't sure, take a black & white photo and it will help you sort out that tone.

With your darkest strip and your contrast, cut the following lengths:
2.5   4.5   6.5   8.5   10.5
You should end up with about 9-10" left of that original pair of strips.
Use scant 1/4 seams.
Here's how it goes together.  2.5's together, finger press to the dark.  Add the dark 4.5 to make a square. Add the white 4.5 to the opposite side. Press. 
Add the 6.5 of each side of the center rectangle. 
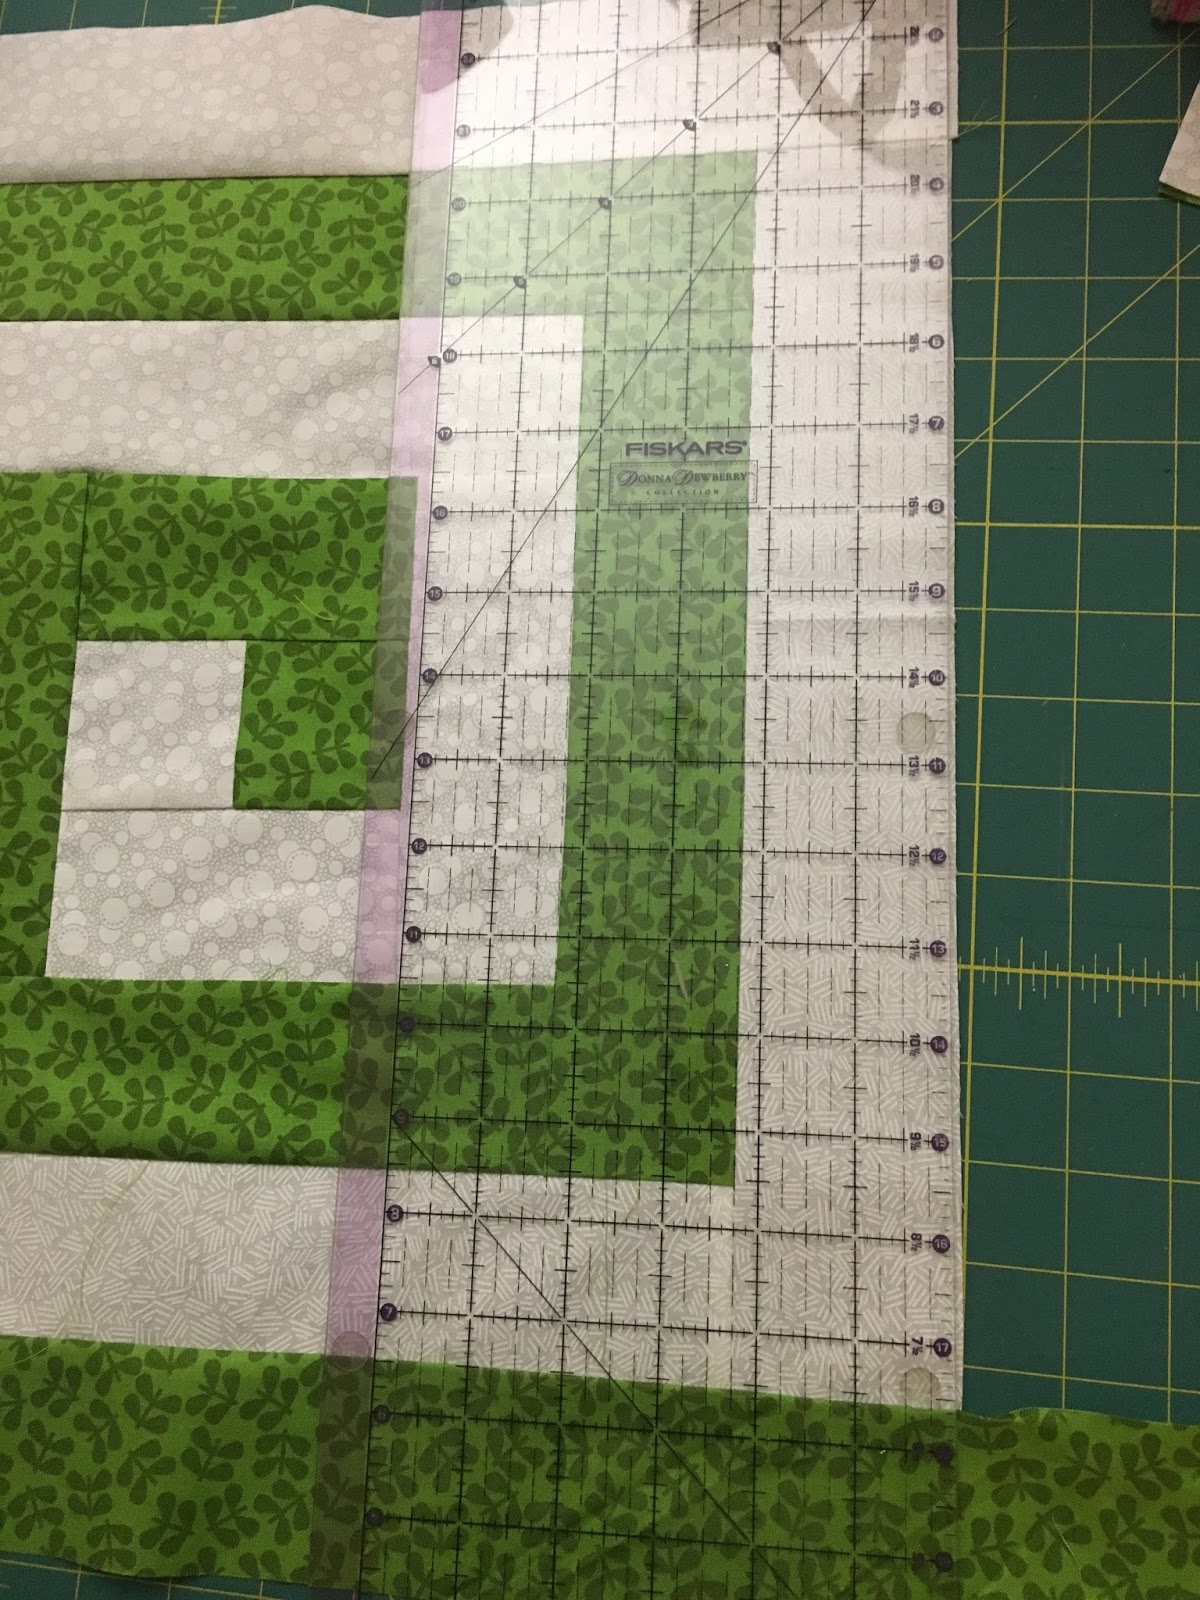
Press and trim.  I'm not kidding.  If you don't press and trim every time I tell you to, it will be a total disaster.  This piece needs to be 6.5 x 8.5.  If it isn't, rip or start over. 
From this point on, you'll be adding a dark and light on each side.  This is the last of the pre-cut sets.
At this point, I found also that it is big enough to be able to do some continuous stitching by bending the piece around to stitch the opposite piece instead of doing one seam at a time.

Press every time you add a pair of strips.  Press to the dark side. (Sorry Luke, I'm not your father)
Each time you add a round of strips, press and re-trim.  Line up the ruler on the 2.25 line of the contrast. 
I am pretty good at straight stitching, but even mine were wonky.  Yours don't stand a chance.
Instead of pre-cutting the pieces at this point, I just sewed them on, then trimmed after each pair of dark and light.  So much easier than math.

This is also the point where you will run out of fabric from the first strip.  I recommend stitching your strips together in a continuous strip in the order of dark to light that you started with. 
Move the placement of the attachment strip so it looks good (like the previous picture, not this one).

Keep doing this until you run out of strips.  I'm not sure how big that will be as I stopped the planning to make this tutorial. 

Yes.  You owe me wine.


Monday, September 11, 2017

Distrations

I have been busy hanging out with this cute thing this weekend.  I decided to start a project that I hoped would be pretty easy and allow for ease of stop and start.

I opted for the 3 Dudes Quilt.  While watching the tutorial, my alarm bells did go off when I realized that the design was going to end up with bias edges.  Then I got distracted by babe and decided to do it anyway.

And then I started laying out the design, and realized something wasn't quite right.  Seems that when I walked away from the project at one baby break, I didn't realize I'd omitted an entire series of blue strips.  At this point it was too late to fix it, so I have a different pattern.

The bias blocks were every bit the horror I had imagined.  As careful as I was, the points are frequently off, and my error make for sections with 8 points that are of course, difficult to sew through.  I altered the outer section to accomodate the left over bits, and added 2 blue borders I hoped would stabilize the edges.
Despite my heroic efforts to keep things even, there are still going to be a couple darts one one edge to make this relatively flat.

I decided to use some of this pink print that I bought on sale for the backing in case all that fuchia batik decides to bleed.

I spliced some batting remnants for a "free" batting.
And did some marking an pinning at the same time.

I'll be starting with some walking foot, close parallel lines on the blue sections, then will wait for inspiration on the pink