
I've been using a quilt-as-you-go method to do a yellow string quilt and was so pleased with the results that I decided this could be a fun Quilts of Valor group project. Several of The Quilt Block Ladies (a local quilt group that has let me join the fold) have decided to join with me.
This tutorial is for them. Cheers!
(I've added more info with each step if you're making this project with your own fabrics)

(The red becomes a diamond shape sashing throughout the finished quilt. If you use this approach later, pick out something that contrasts from the strips. I cut mine 2"wide, and the batting 10.5" for a 10" finished block. )


Prepare all 4 squares this way. You'll do the same steps on each square at the same time - like chain piecing. I find it most time effective to work on 4-8 blocks at the same time which is why I included 4 squares in each kit.

If you don't have a walking foot, you should be fine, but just be sure not to pull or stretch the block as you feed it through the machine since you are sewing on the bias of the backing fabric.
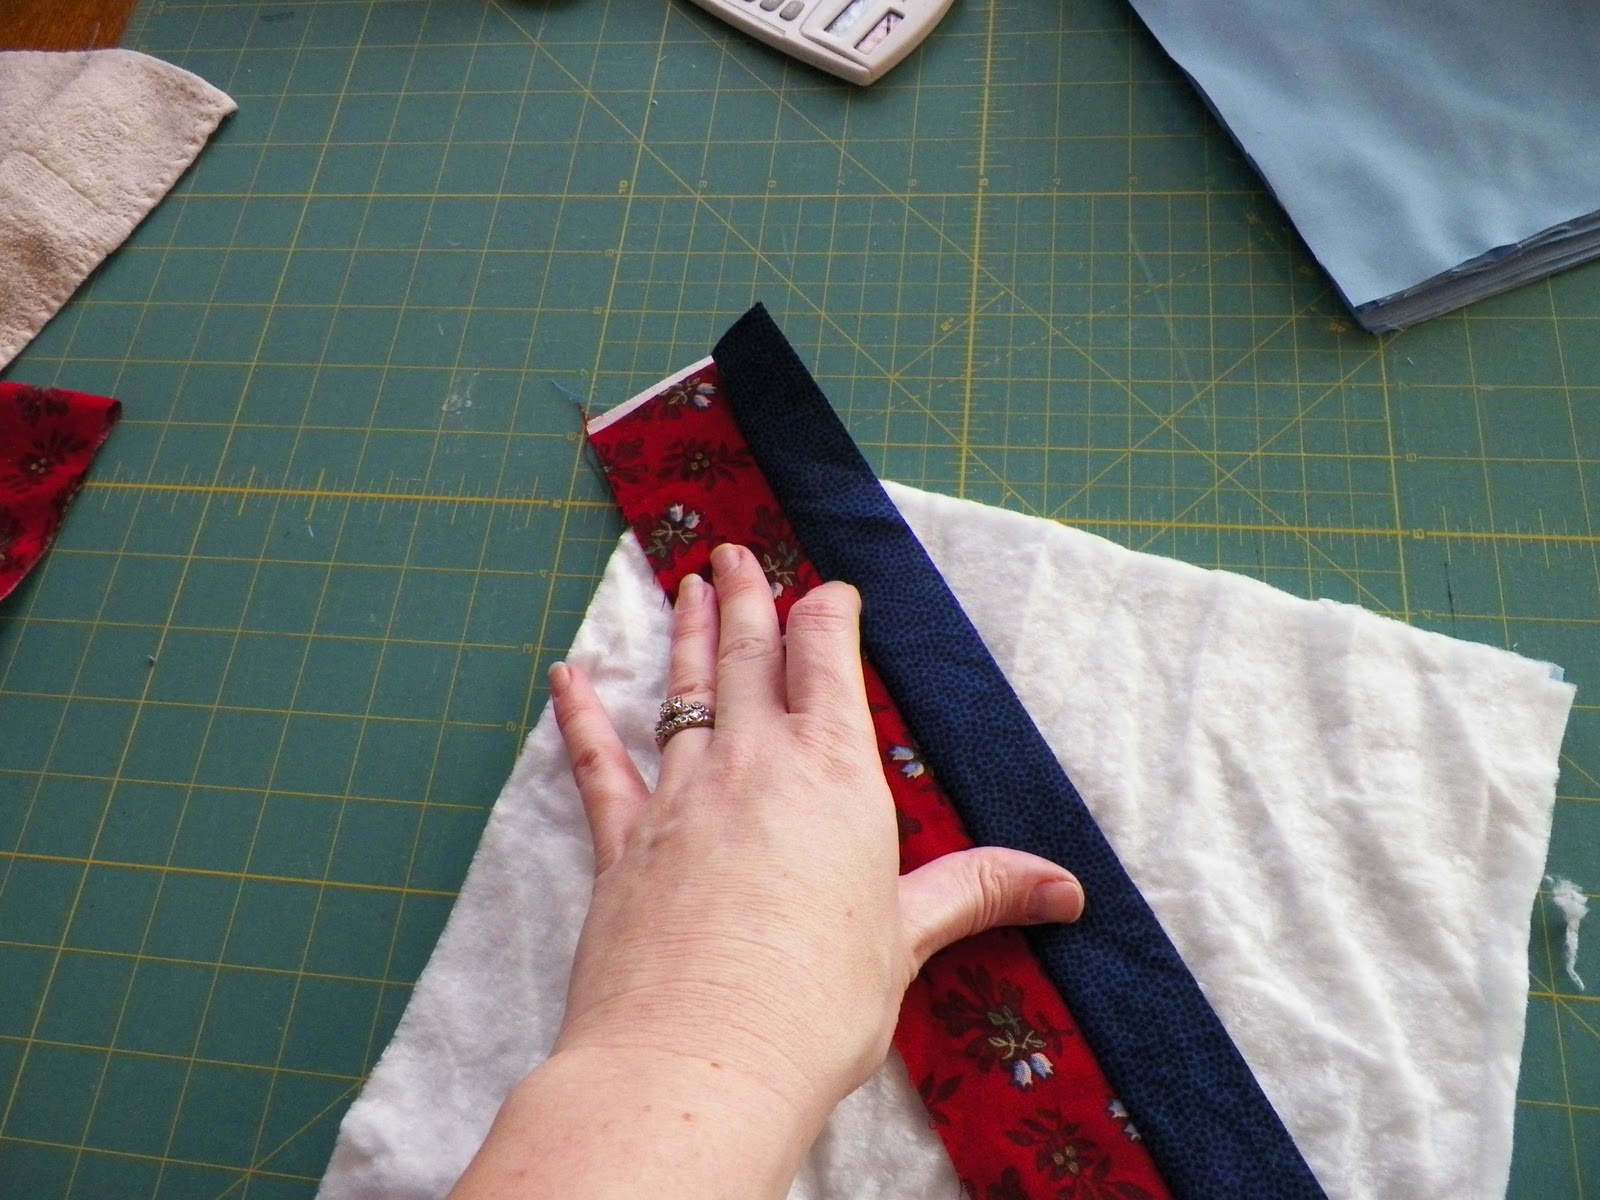
Finger-press this seam open by running your finger or finger-nail along that seam line while it sits on a flat surface.

I pre-cut the strips in variable widths between 1"-2". If you add your own fabrics to the ones provided, please keep them in the same widths.
In my experimental piece, I had some 2.5" strips, but they seemed too big for a 10" square. Other string quilters use wonky shapes instead of strips. You can play with size and shapes when you try this approach with your own scraps.

Continue these steps to the opposite corner.
That's it. The Quilt Block Ladies will turn their blocks in to me at the February meeting looking just like this.
Please don't trim them to size.... or I'll have to have Becky kick your butt.


Then spin the block around and line up the edges on the 10" lines and trim the other 2 raggedy edges.
This is the link to the Welsh Quilter blog that shows the technique for joining the finished blocks.
6 comments:
thanks for sharing...I've never done a QAYG..I will watch to see how you put the blocks together later
What a great and speedy idea - can't wait to see it finished
A very fast and easy way to make a block but I found joining them a little tricky to get right! Probably because I'm still a novice! Looking forward to seeing your finished quilt.
Great blocks!
Beautiful blocks.I don`t use batting to sew mine but my next block will be sewn with it.Thanks for the tutorial.
interesting techinque... can I ask a question? when you join them, don't the seam get really bulky with the wadding too?
Post a Comment